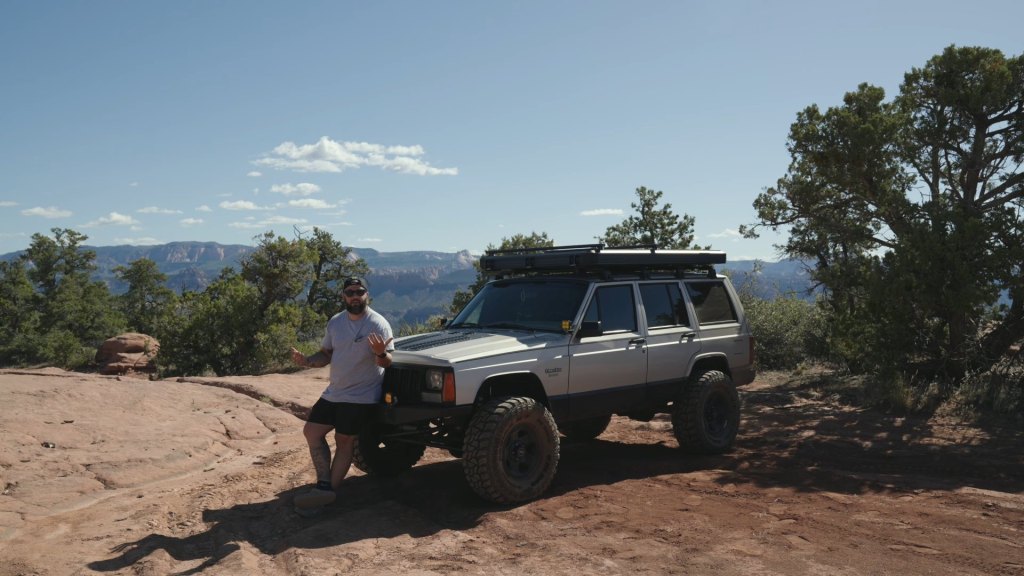
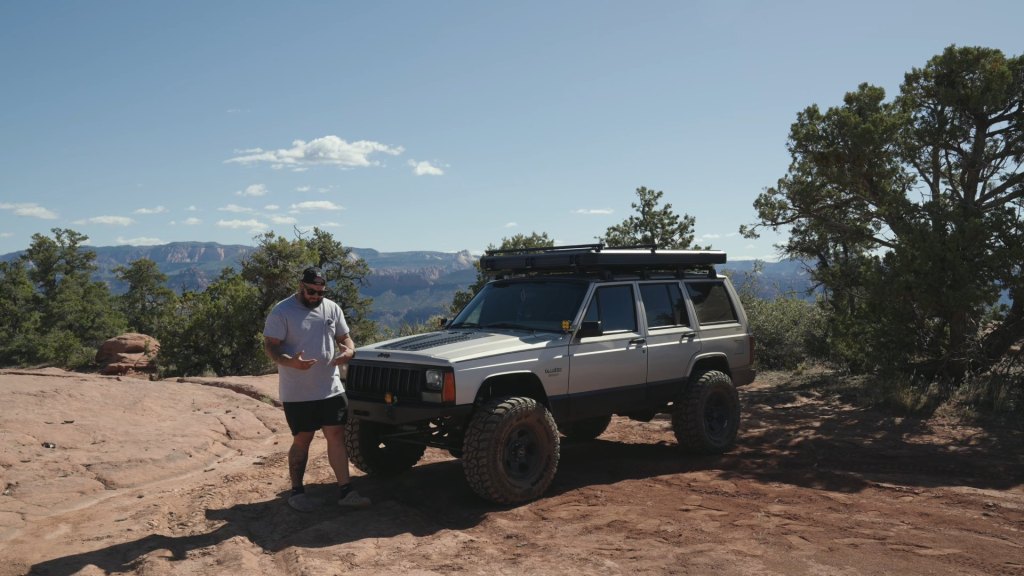
My 1995 Cherokee is a 4-door Sport with the 4.0, four-wheel drive and about 305,600 miles on the body, transmission and transfer case. I daily drive her, I camp out of her, and every day she’s a money pit. Here’s everything that’s been done so far, part by part.
Wheels and tires
Everyone asks about the wheels, so first things first: they’re the stock 15 inch XJ wheels. They’re wrapped in 33×12.50R15 mud terrains. That’s a wide tire on a stock wheel, but it works. Off-road I don’t drop below 15 PSI.
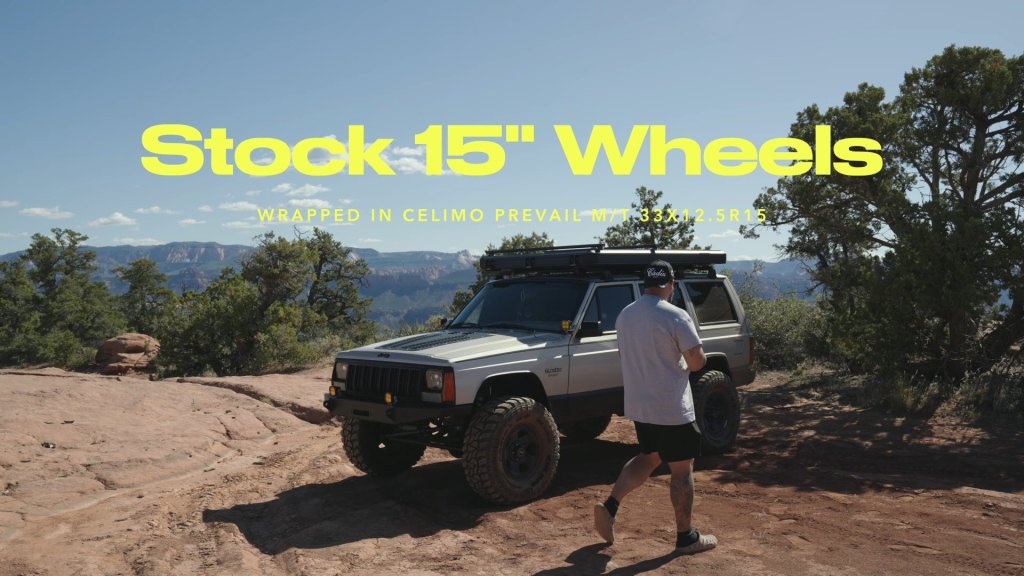
Fitting 33s meant cutting the fenders. It’s a horrible job, and I’m not done: the rears still need to be cut and bent.
Lift and suspension
I’m running the Zone Offroad 3 inch lift. The kit came with front coils, shocks, a full rear leaf pack and rear shocks. Once I load up the back and have passengers in there, the rear sags quite a bit, so a 1 inch helper leaf is next on the list.
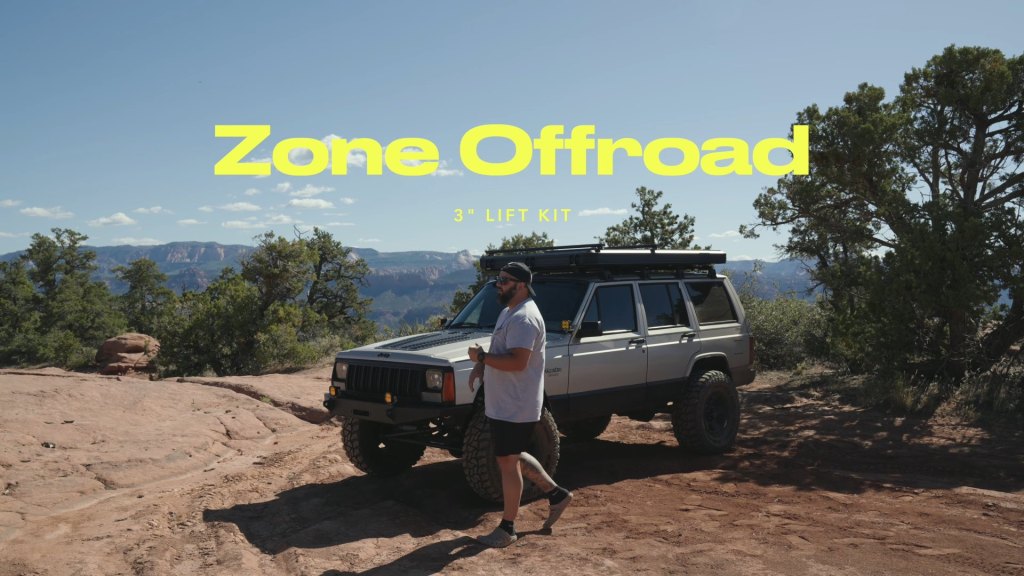
Up front I’ve got the Rough Country heavy duty steering kit. Heads up if you’re running stock wheels: with that steering, the tie rod hits any 15 inch wheel. Rough Country recommends 16s, and I’d say 17s give you safe clearance. I stayed on 15s by running 2 inch wheel spacers front and rear.
The front end also has Core 4×4 upper and lower adjustable control arms (their Cruise series) and a Core 4×4 adjustable track bar. There’s a 4 inch bump stop in the rear, and a shorty bump stop is going in up front. I also dropped the transfer case 1 inch.
Bumpers and winch
Front and rear bumpers are a DIY weld-together bumper kit that I built myself, with family helping out. Not the prettiest welds, but they look good and they hold. On the front I plasma cut the mounting holes and moved the bumper about an inch and a half further in before mounting it.
The one thing missing is a winch. I’m shopping in the 10,000 to 12,000 lb range, so if you’ve got one you swear by, let me know.
Lighting
On the bumper are Auxbeam pod lights (they come with DRLs, which I didn’t wire in). The headlights are these LED headlights with high and low beam, and they’re very, very bright. Up on the A-pillars I’m running Rough Country A-pillar mounts with Baja Designs Squadron Sport pods in amber.
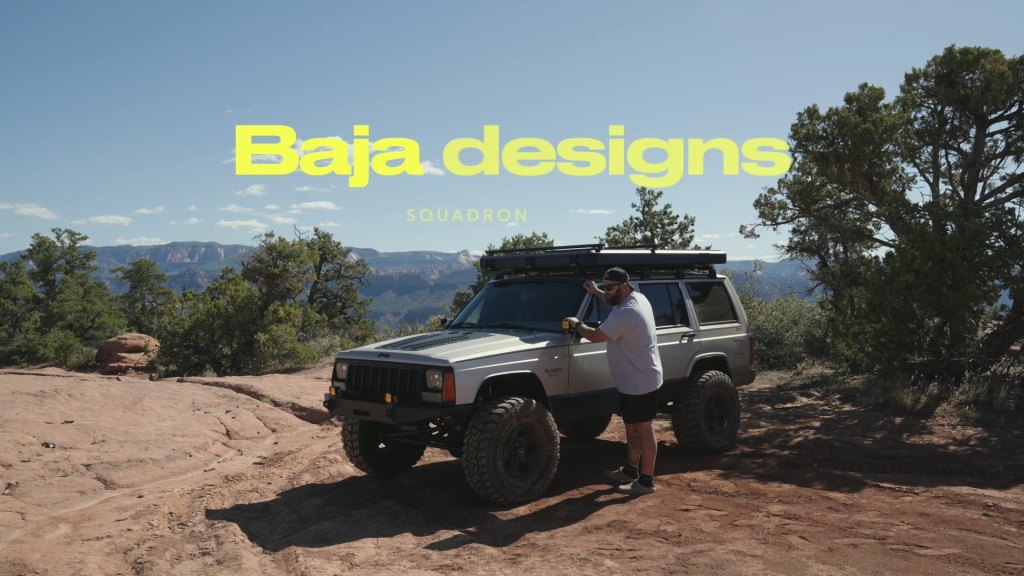
Everything is wired to an Auxbeam 6-gang switch panel. The bumper lights and the pods share a switch, so they all come on together, which is exactly what I want at night and on the trail.
Rooftop tent and roof rack
Up top is the Topoak Galaxy Light, the 56 inch model. It sits on a homemade four-bar roof rack. The gutter mounts came from Amazon and the crossbars are from Ace Hardware. A couple of the middle bars bow a little, but it supports the tent with no problems. The camping setup gets its own post.
Under the hood
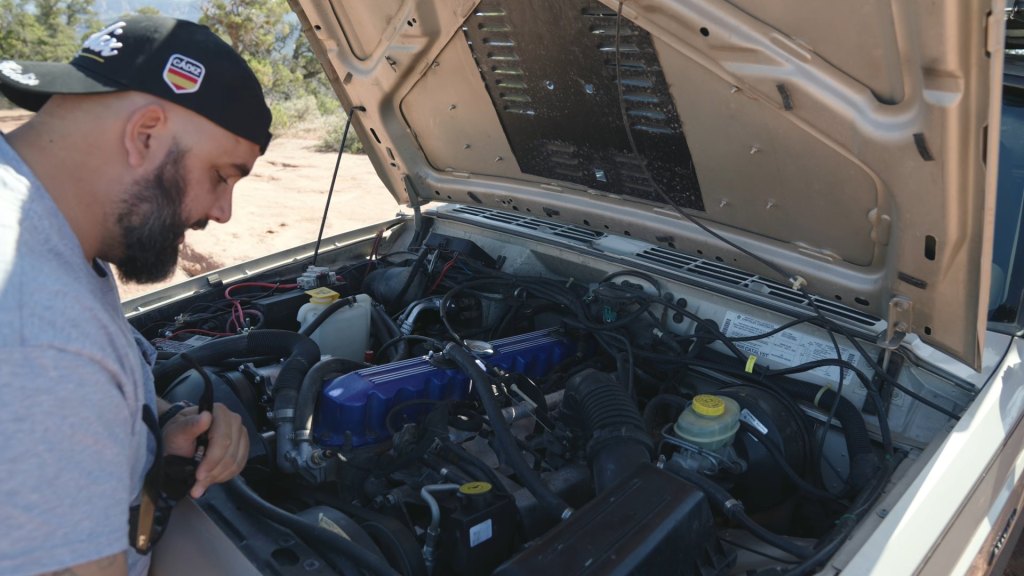
XJs love to run hot, and in Southern Utah we’re over 100 degrees all summer. So cooling got attention: a TJ-style hood vent, a brand new fan clutch, a new radiator and an auxiliary fan on its own switch so I can turn it on whenever I want.
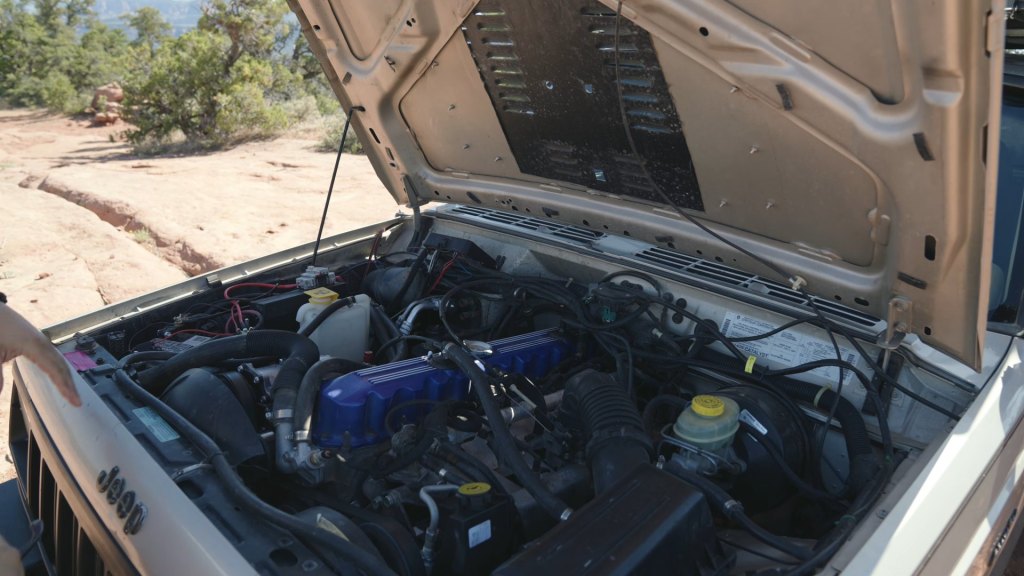
The engine is a Jasper remanufactured 4.0 with about 10,000 miles on it, and it’s still running great. Intake is stock with a paper filter. The AC system, compressor, condenser and power steering are all new. One fix you might find useful: my blend door stopped working, so I cut out the heater core loop for summer. It works well for the most part.
Interior
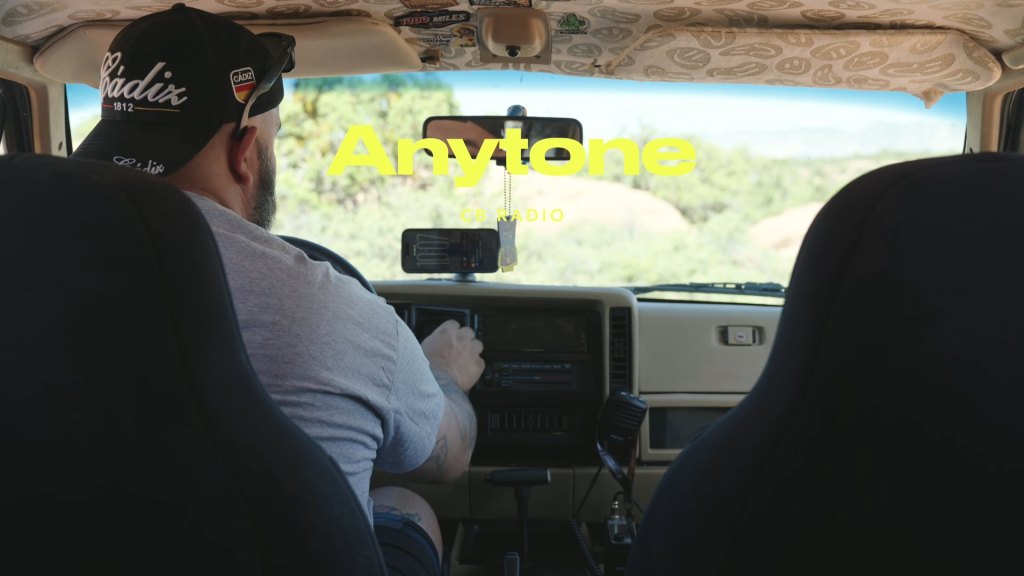
Pretty basic in here. The headliner’s been redone, there’s a CB radio, and the 6-gang switch panel sits where the clock normally goes. For music and maps I’m running a Power Acoustik head unit with Apple CarPlay, and it works really well. A newer center console with cup holders is coming next.
Full parts list
| Area | Part |
|---|---|
| Tires | 33×12.50R15 mud terrains on stock 15 in wheels |
| Lift | Zone Offroad 3 in lift kit |
| Steering | Rough Country heavy duty steering kit, 2 in wheel spacers |
| Control arms | Core 4×4 Cruise series upper and lower adjustable arms |
| Track bar | Core 4×4 adjustable track bar |
| Drivetrain | 1 in transfer case drop |
| Bumpers | DIY weld-together front and rear bumper kit |
| Lighting | Baja Designs Squadron Sport (amber), Rough Country A-pillar mounts, Auxbeam pod lights, LED headlights, Auxbeam 6-gang switch panel |
| Cooling | TJ-style hood vent, new fan clutch, new radiator, auxiliary fan on a switch |
| Engine | Jasper remanufactured 4.0 |
| Camping | Topoak Galaxy Light 56 in rooftop tent on a homemade four-bar rack |
| Interior | CB radio, Power Acoustik CarPlay head unit |
What’s next
Rear helper leaf, front shorty bump stop, finishing the rear fender cuts, a winch, and a standalone solar battery system so the camp power isn’t tied to the alternator. That build log is next. Got a part you think this rig needs? Tell me or drop it in the YouTube comments.

