First real upgrade on the new garage: a flake epoxy floor. Laurin and I did it ourselves with a Foundation Armor kit. I’m not a pro epoxy installer, I watched a few videos and sent it. Here’s exactly how it went, including the parts I’d do differently.
What we used
- Foundation Armor MB100 moisture barrier (base coat)
- Foundation Armor Epoxy 100 with color tint
- Spiced Chai epoxy flakes
- Foundation Armor SCU85 clear top coat
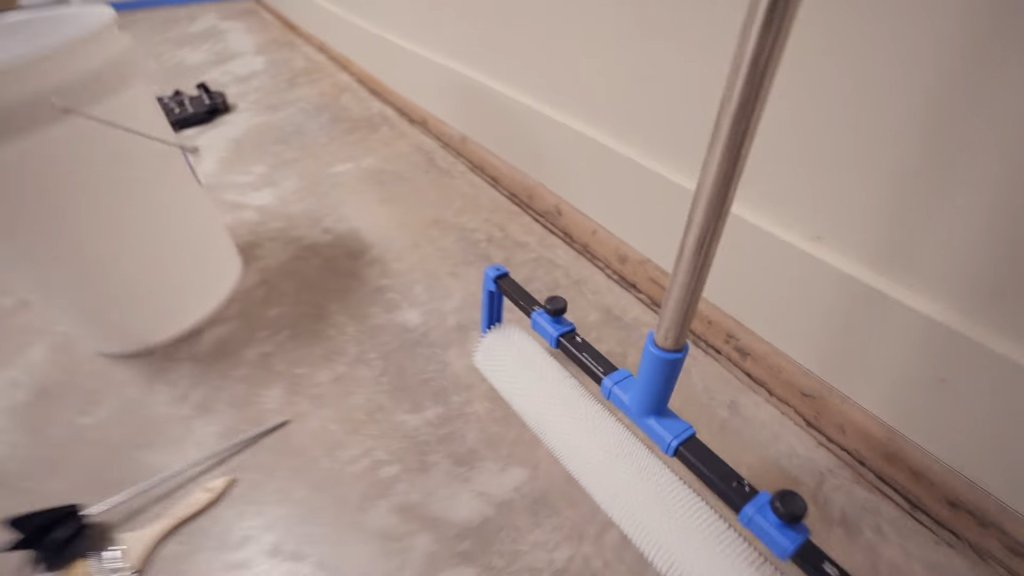
- An epoxy tool kit: groove squeegee, spiked roller, spike shoes and a 9 in roller
- A drill with a mixing paddle, 5 gallon buckets, a cheap brush for the edges, a 4 in scraper, a leaf blower and a shop vac
You can grab the kit at Home Depot, straight from Foundation Armor, or on Amazon. Our garage plus a small storage closet came out to about 596 square feet.
Step 1: Grind the floor
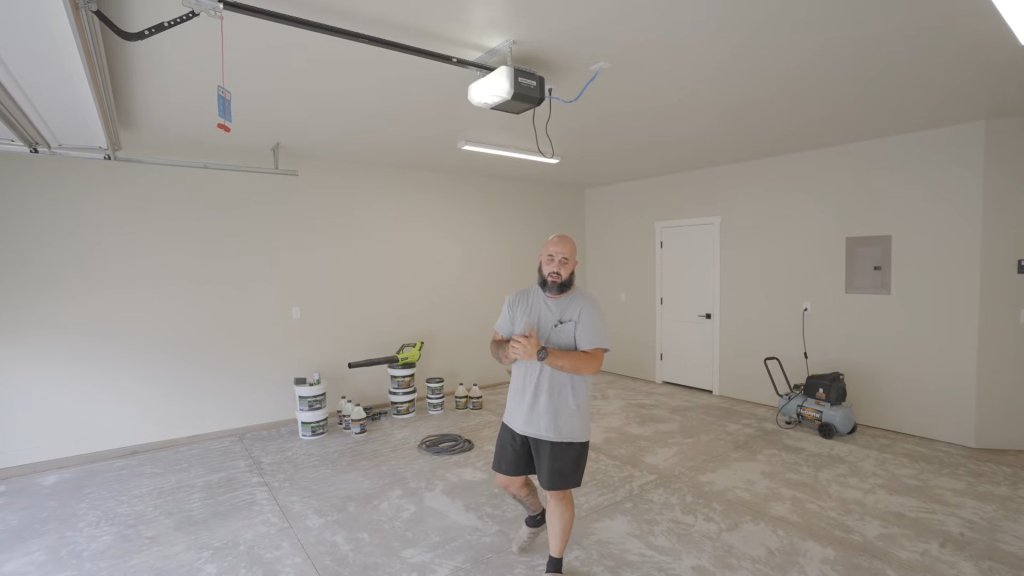
This is where most epoxy floors fail, so don’t skip it. It was more cost-effective to hire someone to grind it than to rent a grinder and do it myself, so Tino came out and etched the whole garage and the closet. A properly ground floor is what lets the epoxy actually bite into the concrete.
Step 2: Get every bit of dust out
Realistically the most important part of the whole process. Blow it all out, and get in between the control joints. Any dust you leave behind ends up under your base coat.
While the floor was open we also had a 220 outlet put in. One for Laurin’s EV charger, and one for my welder.
Step 3: Watch your temps
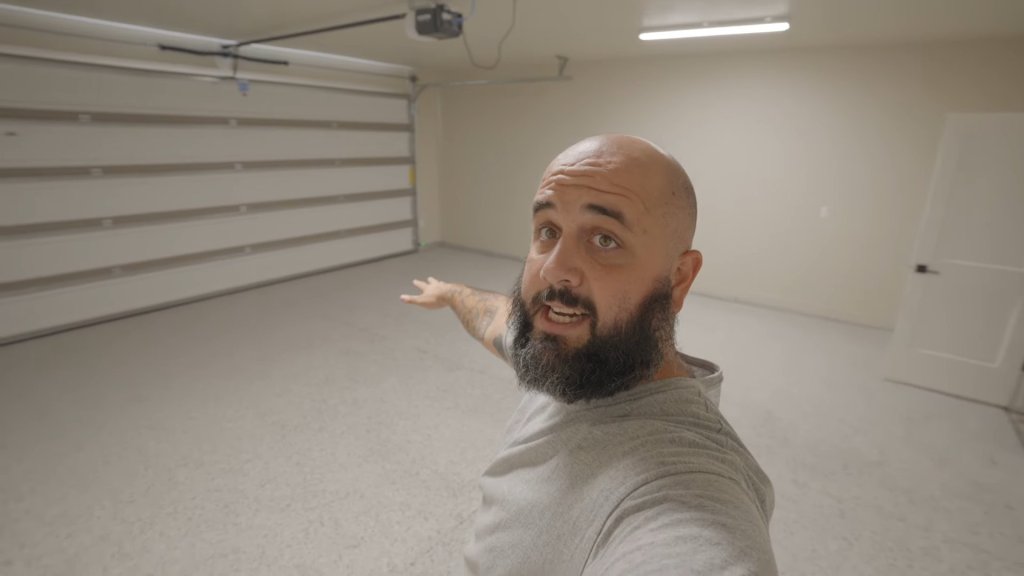
The recommended range is roughly 60 to 80 degrees. Our slab was reading 83 to 84 in the back and about 90 up front, even at night with fans going. I got impatient and started around 9 pm with the slab at 85 to 92. It worked, but it made me rush. If you can, wait for a cooler day.
Step 4: Lay the moisture barrier
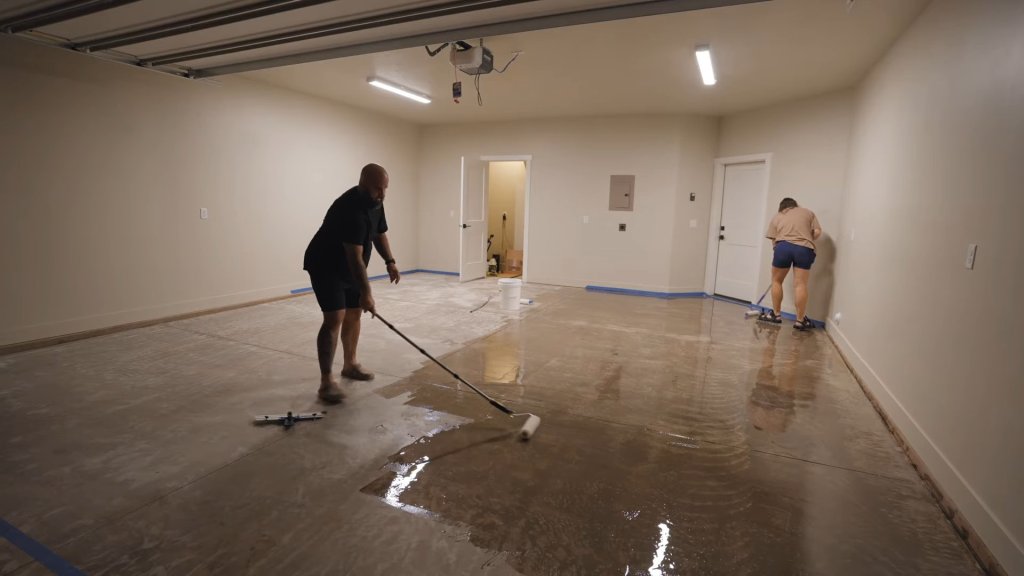
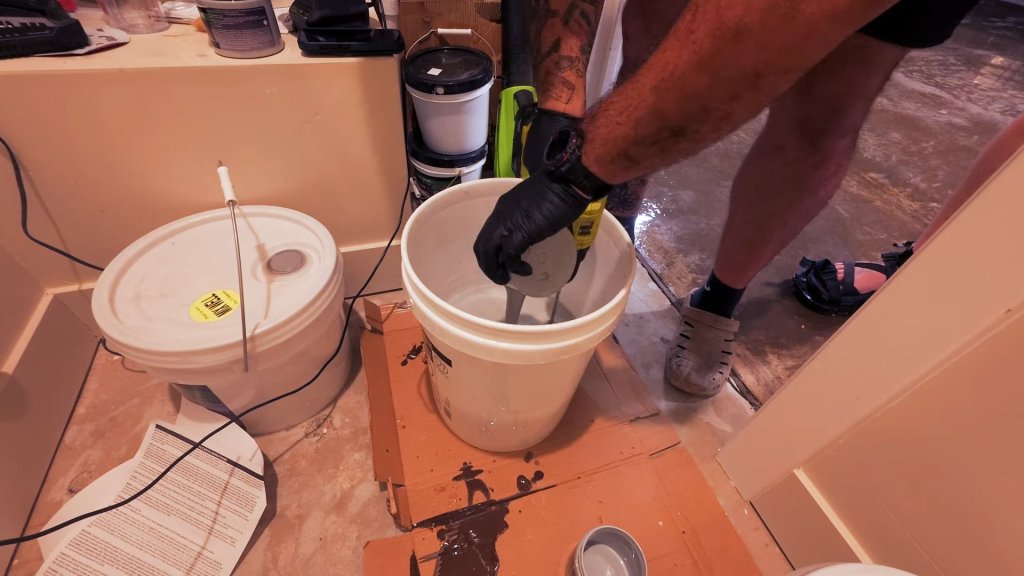
Mix Part A and Part B for about 2 minutes. You can mix in Part A’s bucket, but a 5 gallon bucket is way easier. In the heat I mixed a little quicker. Then pour it out in ribbons and squeegee it out. This goes so much better with two people: I poured, Laurin spread right behind me. We split the garage into two batches and still had a decent amount left over.
Step 5: Tinted epoxy and flakes
Mix Part A by itself for about 2 minutes, add your color tint (we needed two bottles for our square footage), then add Part B and mix another 2 to 3 minutes. Roll it out, and while it’s wet, broadcast the flakes. Have your flakes pre-split into buckets so you’re not scrambling. We swapped jobs halfway: I rolled, Laurin flaked.
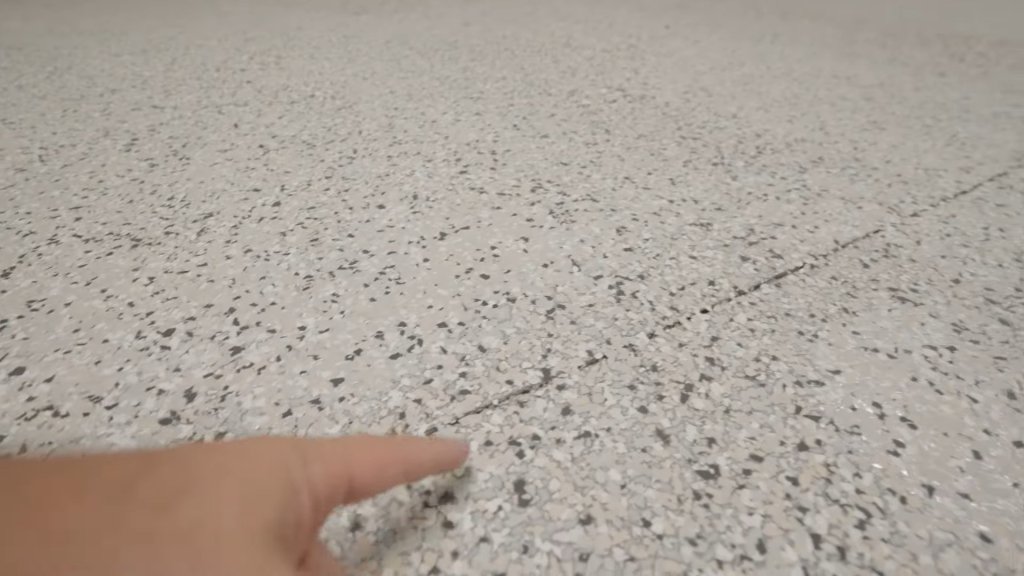
We aimed for medium coverage and ended up going heavy. Not a bad thing, it looks good, but plan on more flakes than you think if you like that look.
Step 6: Scrape, clean and top coat
Once it cures, scrape off all the loose flakes. I couldn’t find a proper floor scraper anywhere in town, so I used a 4 inch glass and tile scraper. Then broom it, blow it out with a leaf blower and vacuum. After that, roll on the SCU85 top coat for the shine and protection.
What I’d do differently
- Don’t top coat with the sun on the floor. I laid some of the SCU85 in the morning with the door open, and the Utah sun baked it. You can see foaming in those spots. I’ll sand them and lay another coat of SCU85 over it.
- Don’t rush it. Starting with the slab too hot is what put me in panic mode.
- Spread your flakes evenly. The darker spots are just where the flakes landed heavier.
- Tape your walls. We ran up the baseboard area a bit. I’m painting the walls gray anyway, so it’ll get covered.
What’s next for the garage
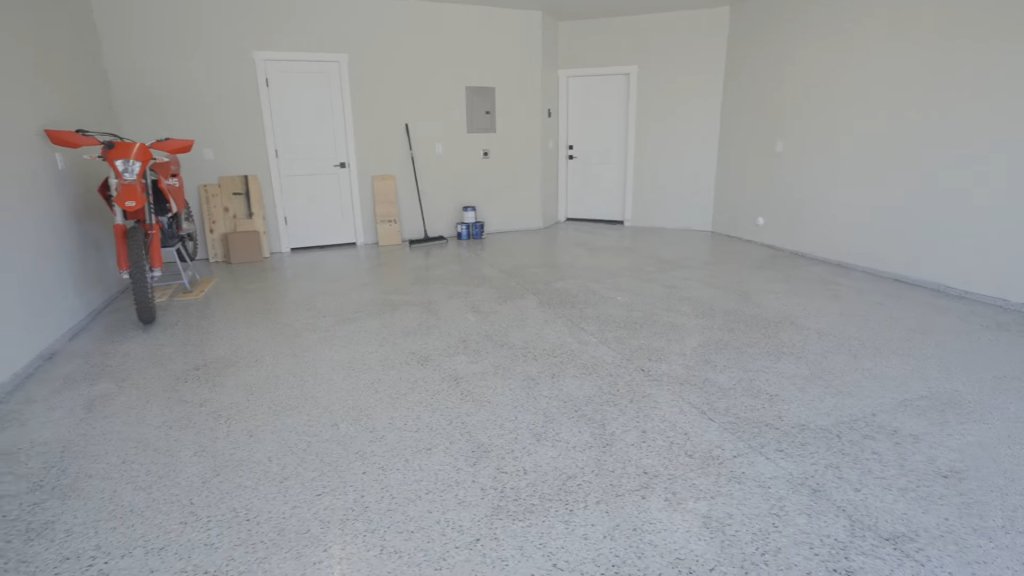
Overall I’m really happy with how it turned out for our first time. Next up: gray walls with black doors and trim, closed cabinets (open shelves always look like a mess), a Level 2 charger for Laurin’s car, better lighting, and a smart garage opener with a camera. The bike storage wall is already done, check out Episode 2.
Some links are affiliate links. I may earn a small commission at no extra cost to you.

